


Gardening with intuition
I’m pruning dead foliage, planting bulbs later than usual, and sowing seeds earlier—and I’m perfectly okay with that.

The lines feel blurred between what is late winter and early spring. All around me, signs of new life outside are rapidly emerging. The birds in my backyard are growing louder, and bright green shoots are emerging through the grasses and weeds in my lawn. But the gardening powers that be insist it’s still a few weeks too early to start many of the initiatives I’m eager to crack into.
All too often, I come across advice in gardening publications urging me to wait and wait when it comes to my plants. However, I trust my gut and view Nashville’s average last frost date as more of a guideline (as it’s inherently a probability, not a certainty, by definition).
My garden features several microclimates, including south-facing beds that are sheltered on two sides by my home. I also have a back deck surrounded by asphalt that retains heat throughout the day.
If you’re reading this, understand that I’m pushing the boundaries and moving ahead (or sometimes, behind) of the standard recommendations for zone 7b because I know my garden spaces well. In this week’s garden journal, I’ll share exactly what I accomplished over the last few days. If you’d like to try some of these activities—even if you’re in Middle Tennessee or another zone 7b—simply adjust the timing to suit your environment.
Trimming my hellebores (also known as lenten roses)
Sheet-mulching the side of my house with leftover cardboard
Planting my leftover tulips and daffodils in outdoor pots
Making a supply run to my nursery for tree fertilizer and mulch
Here’s how everything unfolded!

The start of my week involved trimming old foliage on my four hellebores in the front landscaping. They sit under my north-facing dining room window and were planted in the spring of 2023, so they’re still quite young.

To rewind a bit—have you heard of hellebores? Maybe you’ve heard them called lenten roses? They’re the same plant. Coming from Florida a few years ago, where I lived and grew up for over a decade, I certainly didn’t know about them by either name. It was only after my first winter in Nashville that I became acquainted with this special flower.
My first introduction to the hellebore was in my neighborhood while running errands on a blustery early spring day. As I made a mad dash between my vehicle and a local business, I noticed a green flower blooming in some landscaping while everything else was dormant. I took a quick detour to snap a photograph with my phone before continuing on my way. Later, in the comfort of my warm house, I did a Google image search and discovered the identity of this intriguing flower to be a hellebore.
What makes hellebores so special? They’re low-maintenance and always among the first flowers to bloom in most areas where they grow, offering much-needed relief after months of gray weather. They’re also truly gorgeous and distinct, with star-shaped blooms on sturdy stems in shades ranging from pale cream to deep violet. This makes them exquisite and unsurprisingly beautiful as cut flowers (and fairly expensive when purchased from a florist).
Since hellebores are shade plants, a blooming hellebore always brings life to parts of the garden that need it most—making their appearance during the darkest days of the year even more delightful.
Trimming the older leaves is a routine task for optimal hellebore care, typically done between January and March. The leaves get damaged by weather over the year and can start looking rough. Additionally, this practice helps prevent hellebore leaf spot disease, which is a common fungal issue.

As the incoming rosette buds grow, removing the older leaves from the previous year also ensures they won’t compete for space because it allows the blooms to fully open and reach their full potential.
When trimming hellebores, aim to cut about an inch and a half above the ground. It’s a straightforward process. I gathered the old leaves into a grocery store paper bag, which could go directly into the compost pile. I felt comfortable composting them since I inspected the leaves closely and found no signs of disease. I also made sure to wear gloves, as the plant’s sap can irritate the skin and cause a rash.
Pruning these hellebores was a fast and easy win. I’m excited to see what these young plants will accomplish this year.

In Middle Tennessee and much of the northern United States/East Coast, the weather has been rough lately, with several days of ongoing drizzle and bitter cold. Any break in the sky has been my chance to tackle some garden tasks that require more than a quick step outside.
First up when the sun peeked out on Thursday? Folding cardboard. That’s right—folding cardboard is my new ongoing task for the garden. I’m using old cardboard that I started saving back in December for sheet mulching on the side of my house. After a few months, I have almost enough to cover the entire area.

For context, I have an awkward alley that gets hardly any sun because it’s so narrow. It’s uneven and patchy, with strange grasses and rocks. My goal is to smother the awkward lawn with leftover cardboard from Amazon deliveries and other weekly purchases. Once the alley is completely covered, I’ll add a thick layer of mulch on top of the cardboard.
I’m confident this method will help me create a tidier space, ready for new plants like native flowers or shade plants. I also wanted an alternative to landscape fabric, which is made of plastic and can leach harmful substances into the soil.
To me, smothering with cardboard is a much better solution than trying to manage and mow this half-dead, unsightly strip of turf.
On Thursday, I spent a solid hour and a half flattening new boxes and fitting them into the space. My goal for the day was to completely cover the base of the fence line so that not a single blade of pesky fescue was visible.

Now that I have two-thirds of the space covered, I’ll probably need a few more weeks of cardboard saving to finish the rest. You can expect to see me documenting the progress of this project in the weeks ahead.
After flattening way too many boxes, I had just an hour of sunlight left. I used that time to frantically plant some leftover bulbs I had purchased in late December but didn’t use in my new front yard bulb beds (see this post for details on how that went).
I had about 50 bulbs left to plant. I’d been dragging my heels on this task because I’d always planned to use the extras in some empty pots on my back deck, knowing that planting in pots means you can do it later in the season. But I think I waited as long as possible.
The success stories of late bulb planting I’ve seen online involve planting in March and ending up with small but charming blooms. Keeping that in mind, I made sure to chill the bulbs in my fridge for about a week since they’ve been inside the mild temperature of my home. I did this while waiting for the perfect day to spend a long stretch working outside.
I have about three different tulip varieties (Helmar, Dream Touch, Van Eijk) and a daffodil (Holland Sensation) that I could plant in three empty pots and two pots with dormant plants in the center. In one pot, I planted a single tulip variety, while all the others were mixed with two or three varieties each.
My vision is a kaleidoscope kind of vibe, with layers of color.

Despite having a ton of pots, I still had about twelve red tulip bulbs left. I wrapped up my day outside by dropping these tulips into a few empty corners of my kitchen garden beds.
My thought process is that a nice pop of color here and there will add charm and brighten up a space that will otherwise be a blanket of green from all the brassica veggies seeded for early spring.

Last on my list of gardening tasks for the week? A trip to my local nursery to pick up mulch and fertilizer for the trees in my front yard and the kitchen garden behind my home.
More specifically, I planted three 7-foot native persimmons (Diospyros virginiana) last fall to introduce more edibles into our landscape, just before the first freeze. It was a race against the clock to purchase and get them into the ground, so after planting, we didn’t do much else.
I had a large and imposing housing development go up behind my property about two years ago. To create some screening, I planted a 12-foot weeping willow near our house and three 9-foot Japanese cedars (Cryptomeria japonica) along the fence line.
However, all of these plants are still young, and the houses are three stories high. My husband and I are doing pretty much everything we can to encourage their growth.
I knew we could have chosen faster-growing trees initially, but we opted for this tree because it will eventually grow 50–70 feet tall and 20–30 feet wide—something few plants can offer at that size. The only downside is that it’ll take a few years for them to mature and become truly large. To help them thrive, we’re giving them all the care and attention they need.
What I mean by care and attention is the following:
Adding a mulch ring to reduce weeds and retain moisture
Fertilizing to provide the nutrients necessary for growth
To gather our supplies, we took a family trip to Bates Nursery & Garden Center in Nashville. This included my husband, our dog Brisket, and me grabbing a coffee to-go at a nearby drive-through before enjoying our hot drinks while browsing cool plants.
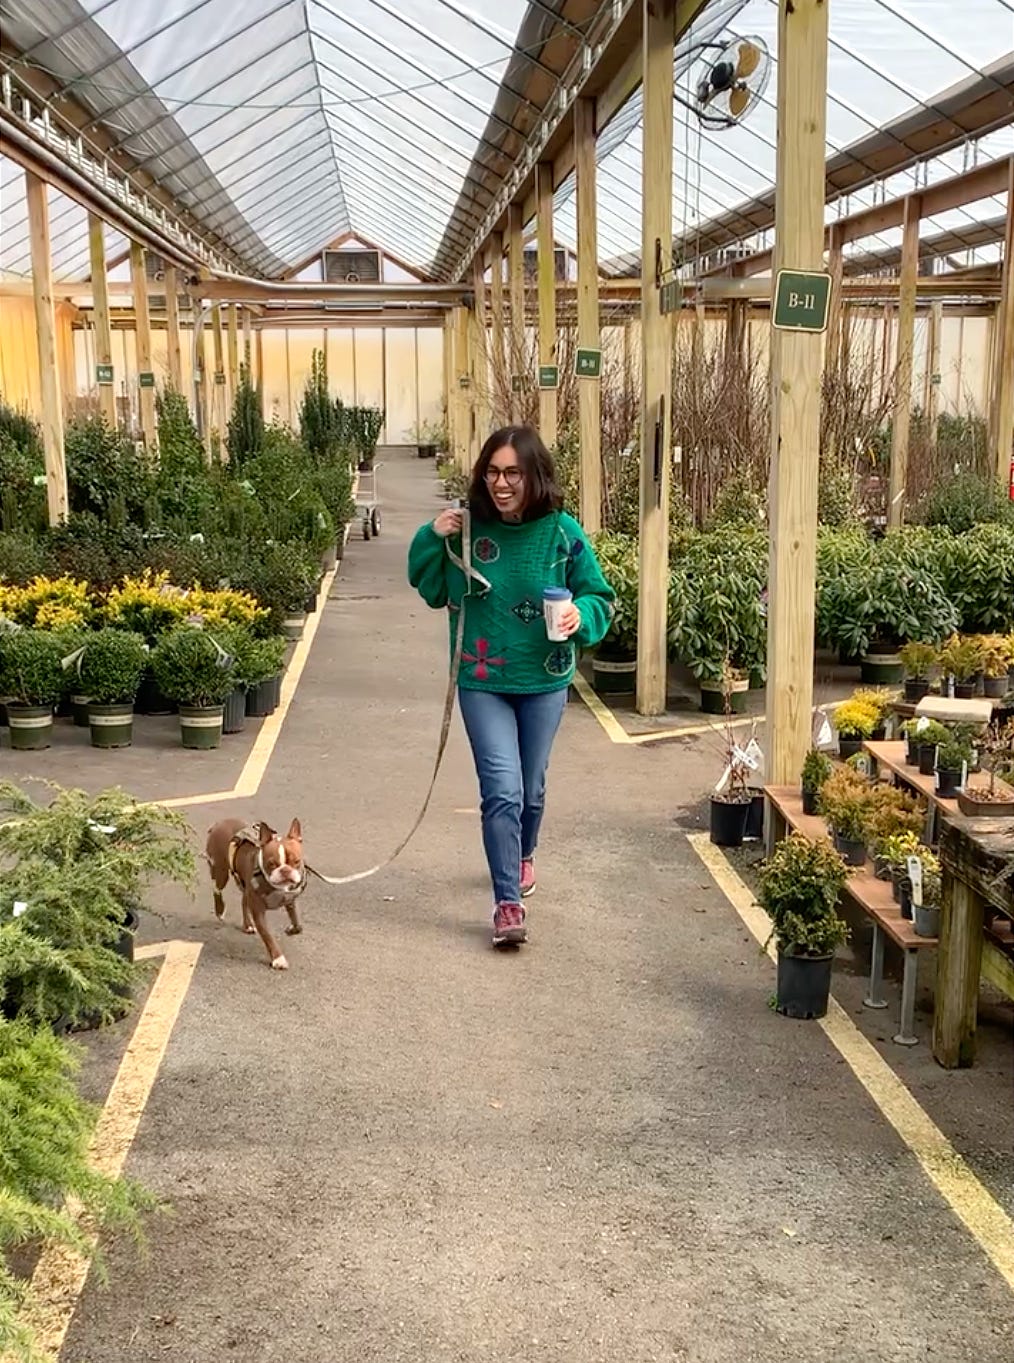
Brisket LOVES going to the nursery! To clarify, Bates Nursery is dog friendly. The chilly weather currently here in Middle Tennessee isn’t an issue because Brisket can walk around and sniff all kinds of things inside their greenhouses and indoor spaces. Plus, their staff is incredibly nice and always helpful—and they always give Brisket pets!
While we were there, we browsed plants for fun before grabbing eight bags of shredded pine mulch by EarthMix (my go-to) and premium fertilizer by Monty's PlantVantage, which the Bates staff recommended for our tree fertilizing needs.

Random fact: EarthMix is made entirely in Tennessee, and Bates Nursery is the only place where you can buy it in bulk. Their soils and amendments are crafted from high-quality organic components and produced in small batches, so I can’t recommend it enough. It’s a fantastic resource to have access to if you’re in the Middle Tennessee area.
With our new supplies in hand, we mulched around our trees shortly after arriving home. Low temperatures are forecasted for next week, so the mulch will provide extra protection. For that same reason, I’m holding off on applying the fertilizer until after the cold snap. This way, it has a better chance of being absorbed by the plants when they begin exiting dormancy.

This week in the garden felt like spring. I can’t define why exactly, but my gut intuition mixed with small flashes of growth and dewy warmth are exhibiting themselves more and more. And now that I feel like I’m exiting winter at last, I’m starting to feel the pangs of panic that I have no time to spare. Planning is over, and it’s time to get a move on.
For next week’s journal recap, I’ll be sharing some infrastructure work I’m doing in my back garden. It’s a massive investment financially and it’s going to be big (quite literally). I think you’ll find it a refreshing detour from the considerably mundane tasks I’ve been journaling about over the past few weeks.
As always, thanks for digging into my garden journal! Subscribe for free to stay in the loop with al of my upcoming weekly garden journal updates. 📖
My sister grows hellebores in her zone 7 garden outside of Salt Lake City and I get so jealous. Too hot here. I’m looking forward to following along as your garden emerges in spring and summer :)